


How to Add Your First Product to Photoship
Create a reusable product with images, selling information, and variants. Products are the source blueprints that can appear in catalogues, PDFs, online stores, and customer share links.
Watch the workflow
Open on YouTubeStep-by-step
- 1
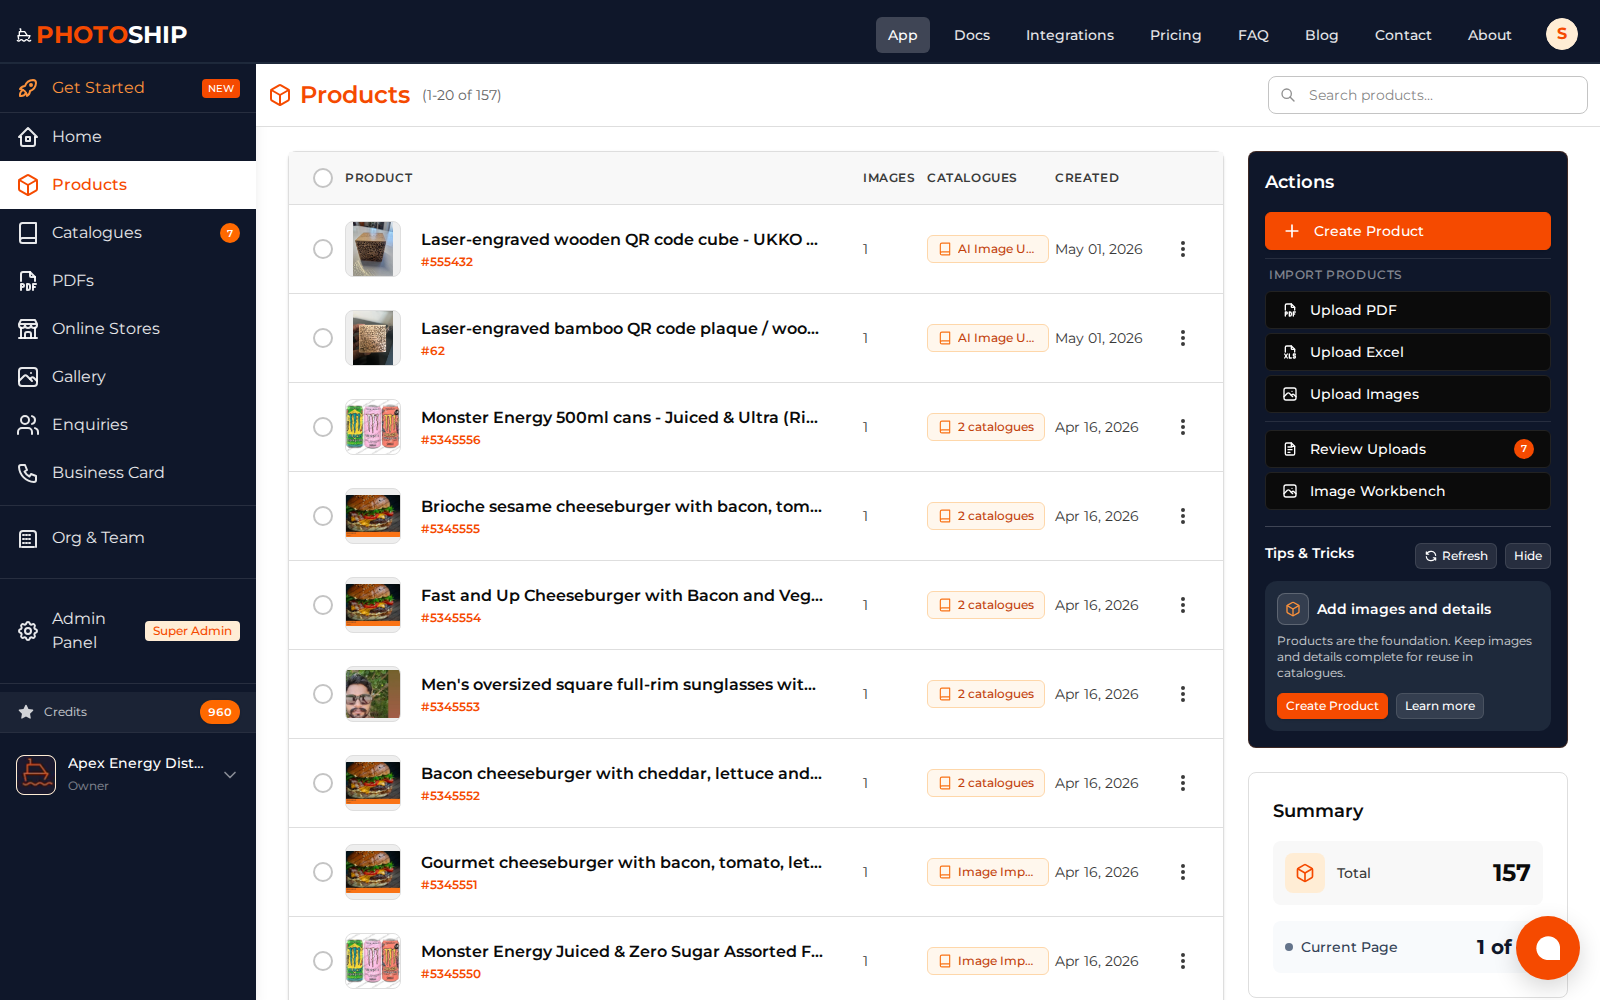
Open the product library
Choose Products from the app and start a new product. Create it in the organization that should own the future catalogue and outputs.
- 2
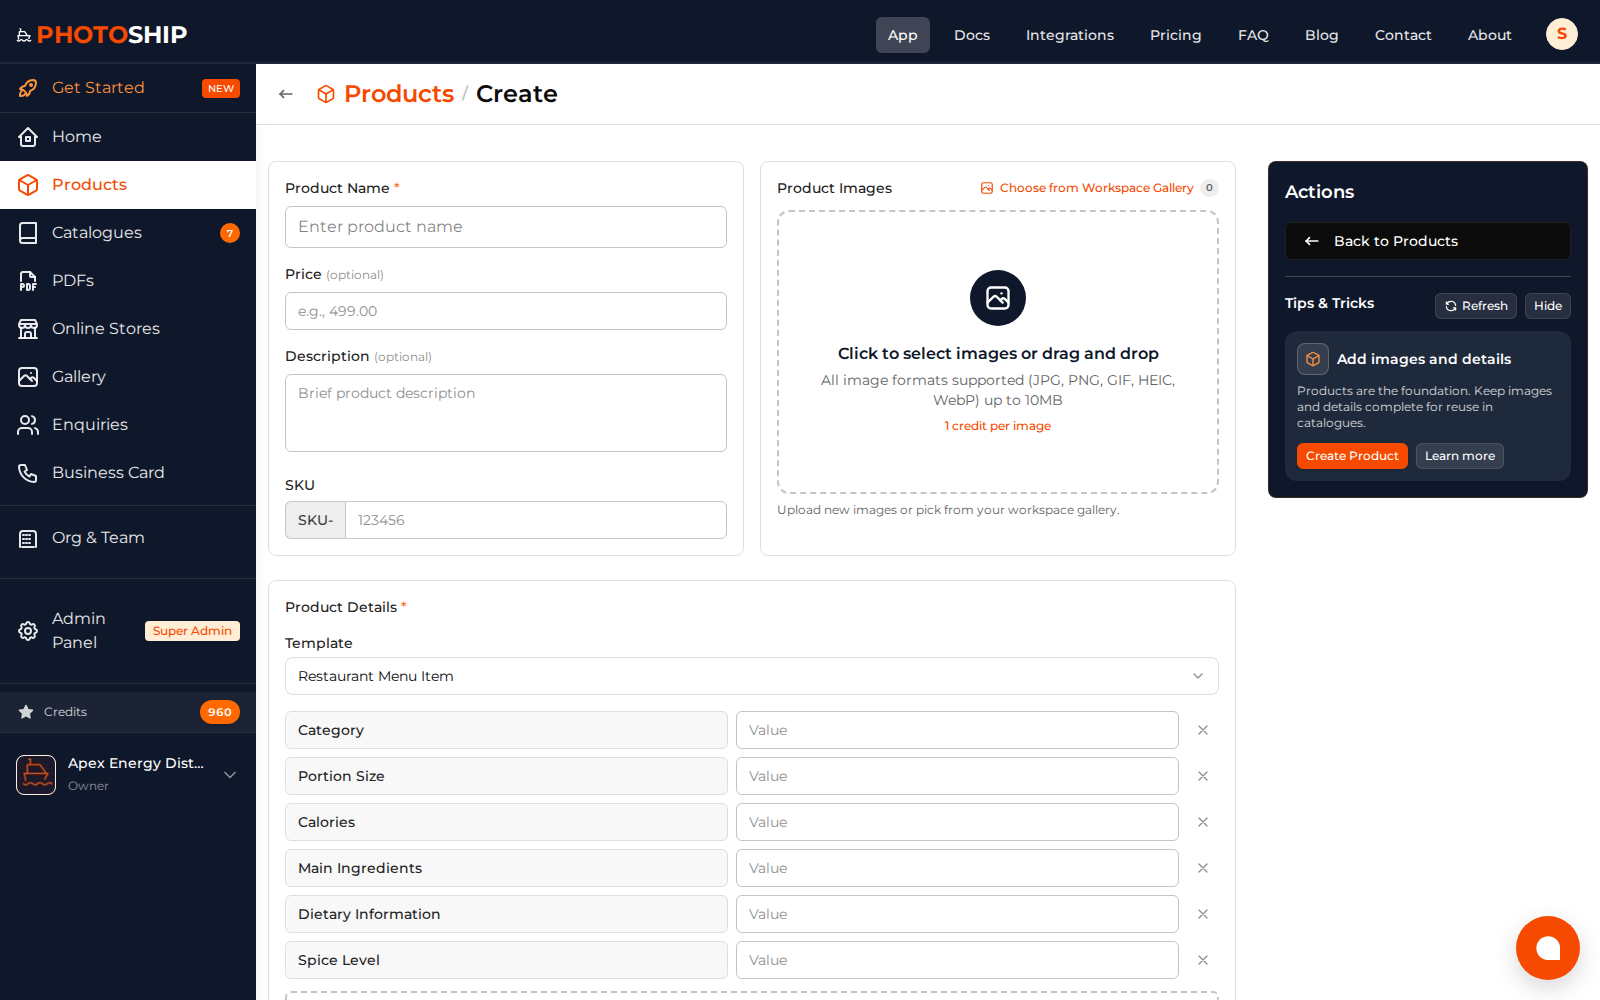
Add the main product image
Upload a clear image that represents the product. Additional images can show alternate angles, packaging, or important details.
- 3
Enter product details
Add a useful name, description, price, SKU, and any custom product facts customers or teammates need.
- 4
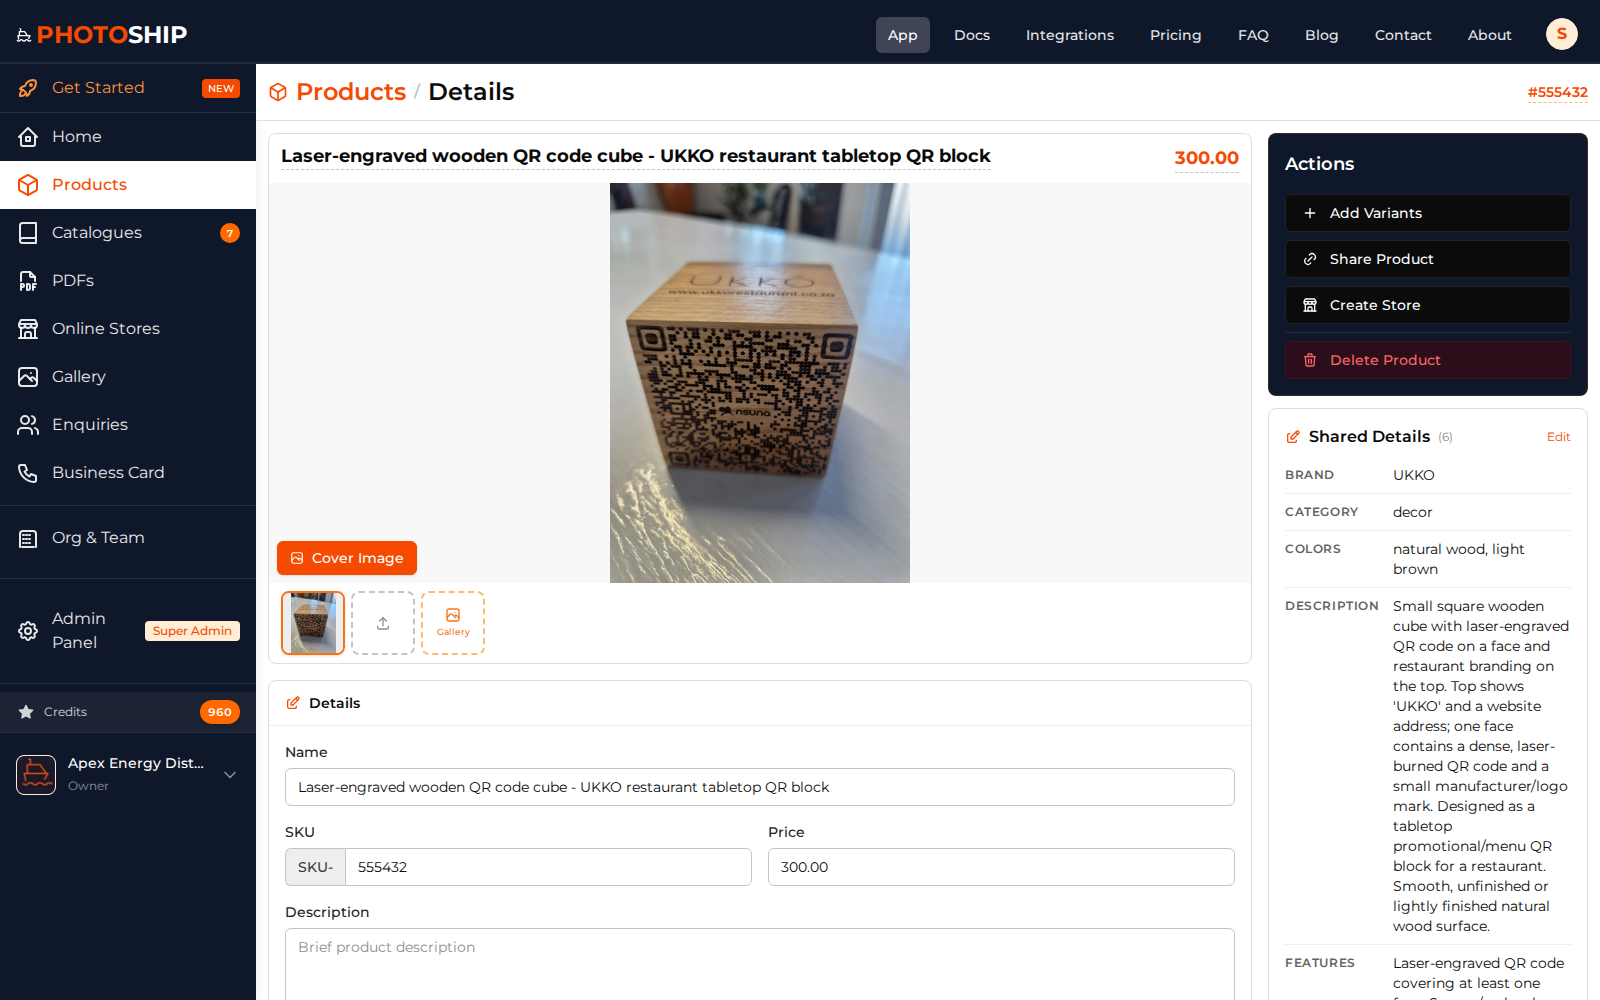
Save and review
Open the saved product, confirm its display information, and add variants when sizes, colors, or other sellable options differ.
Before you publish
- Use customer-friendly names instead of internal shorthand.
- Put variant-specific prices and SKUs on the correct variant.
- Keep source product data accurate because outputs stay connected to it.